Stinger Transitions
Note: Stinger Transitions are only supported on vMix editions with more than one Overlay channel such as vMix HD.
Stinger Transitions allow the use of an animation instead of a fade or cut when transition between Preview and Output.
Configuration
1. Add the animation you wish to use as an Input. The Image Sequence option is recommended as it supports high quality animations with full alpha transparency.
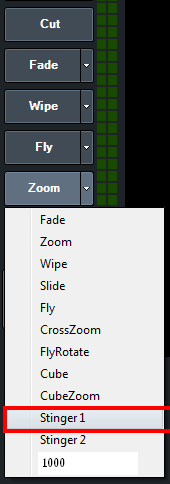
2. In the Overlay settings window, select Stinger 1 from the Number dropdown box.
3. Configure the following settings:
Effect: This specifies an additional effect when transitioning to and from the stinger transition. In most cases this will be set to Cut
Duration: Specify the total duration of the animation in milliseconds or frames. This will usually be the length of the animation.
Stinger Input: Select the Input added in step 1
Stinger Cut Point: Specify the point in time when the transition will cut between the Preview and Output inputs. If your animation has alpha channel, this will usually be the point where the animation covers the entire screen.
Display underneath overlays: Tick this box if the stinger transition should appear underneath any overlays (1-4) currently on screen.
4. Once all your settings have been configured click OK.
Using the Stinger Transition
In the main window, select Stinger 1 as one of the four transition buttons in the middle of the screen.
When the stinger transition is required, simply click the transition button as you would any other effect